
Homegrown Goods: The Art of Presenting Garden Gifts
Few things feel as satisfying as sharing what you’ve grown yourself — the jars of summer jam, baskets of herbs, or loaves infused with your own lavender or rosemary. Learn how to elevate your edible c... ...more
Edible Gardening ,Backyard Gardening Farm Girl Home Gardens Louisville Ky &Vegetable Gardening For Beginners
February 02, 2026•4 min read
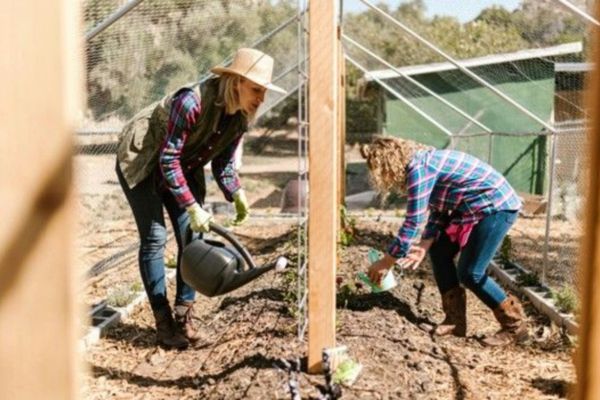
How Much Water Do Vegetable Gardens Need?
Watering your home garden will insure its success over the hot summer. Learn when and how to water with our vegetable gardening metrics. ...more
Garden Irrigation ,Louisville Ky Vegetable Gardening For Beginners Garden Consulting Garden Management Home Gardening &Kentucky Gardeners
July 22, 2025•3 min read
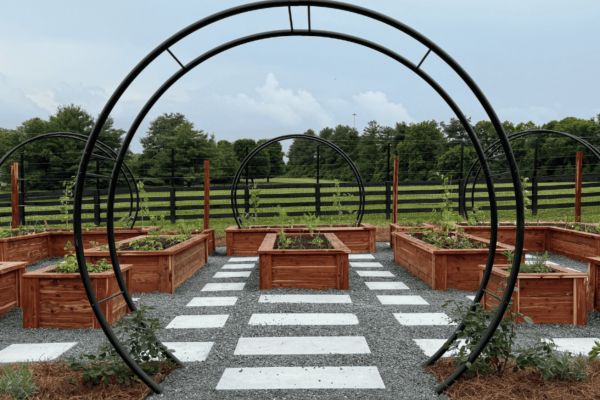
From Soil to Sustainability
Get the practical take on food production, land acquisition, planting strategies, farm finances, marketing, and lifestyle. Edible Gardens Inc. offers local garden planning, garden design, installation... ...more
Edible Gardening ,Backyard Gardening Vegetable Gardening For Beginners Garden Consulting Farm Business &Planting Plan
July 09, 2025•5 min read

Fires are Burning - Farm & Garden Health
Look at how your personal journey has opened doors to propel you forward. Keep going! ...more
Farm Girl ,Louisville Ky Garden Consulting Edible Gardening Academy Food Security Through Gardening Garden Classes & Gardens Ease Food Shortages
January 31, 2025•1 min read
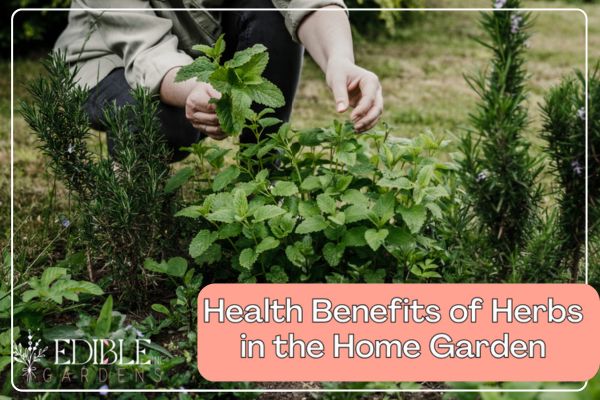
Health Benefits of Herbs in the Home Garden
Go in depth to explore the health benefits of Culinary and Medicinal Herbs for your Home Gardens. ...more
Louisville Ky ,Home Gardening Herbs Home Garden &Medicinal Herbs
January 27, 2025•11 min read

Deer Hunting Season in Kentucky
Personal reflections on deer hunting in Kentucky, exploring self-sufficiency, food procurement, wildlife stewardship, and the traditions and skills passed down through hunting seasons. ...more
Hunting , Food Procurement Wildlife Management &Outdoor Traditions
December 08, 2024•2 min read